Website Creation Wizard
Open your workspace
Log in to Localizer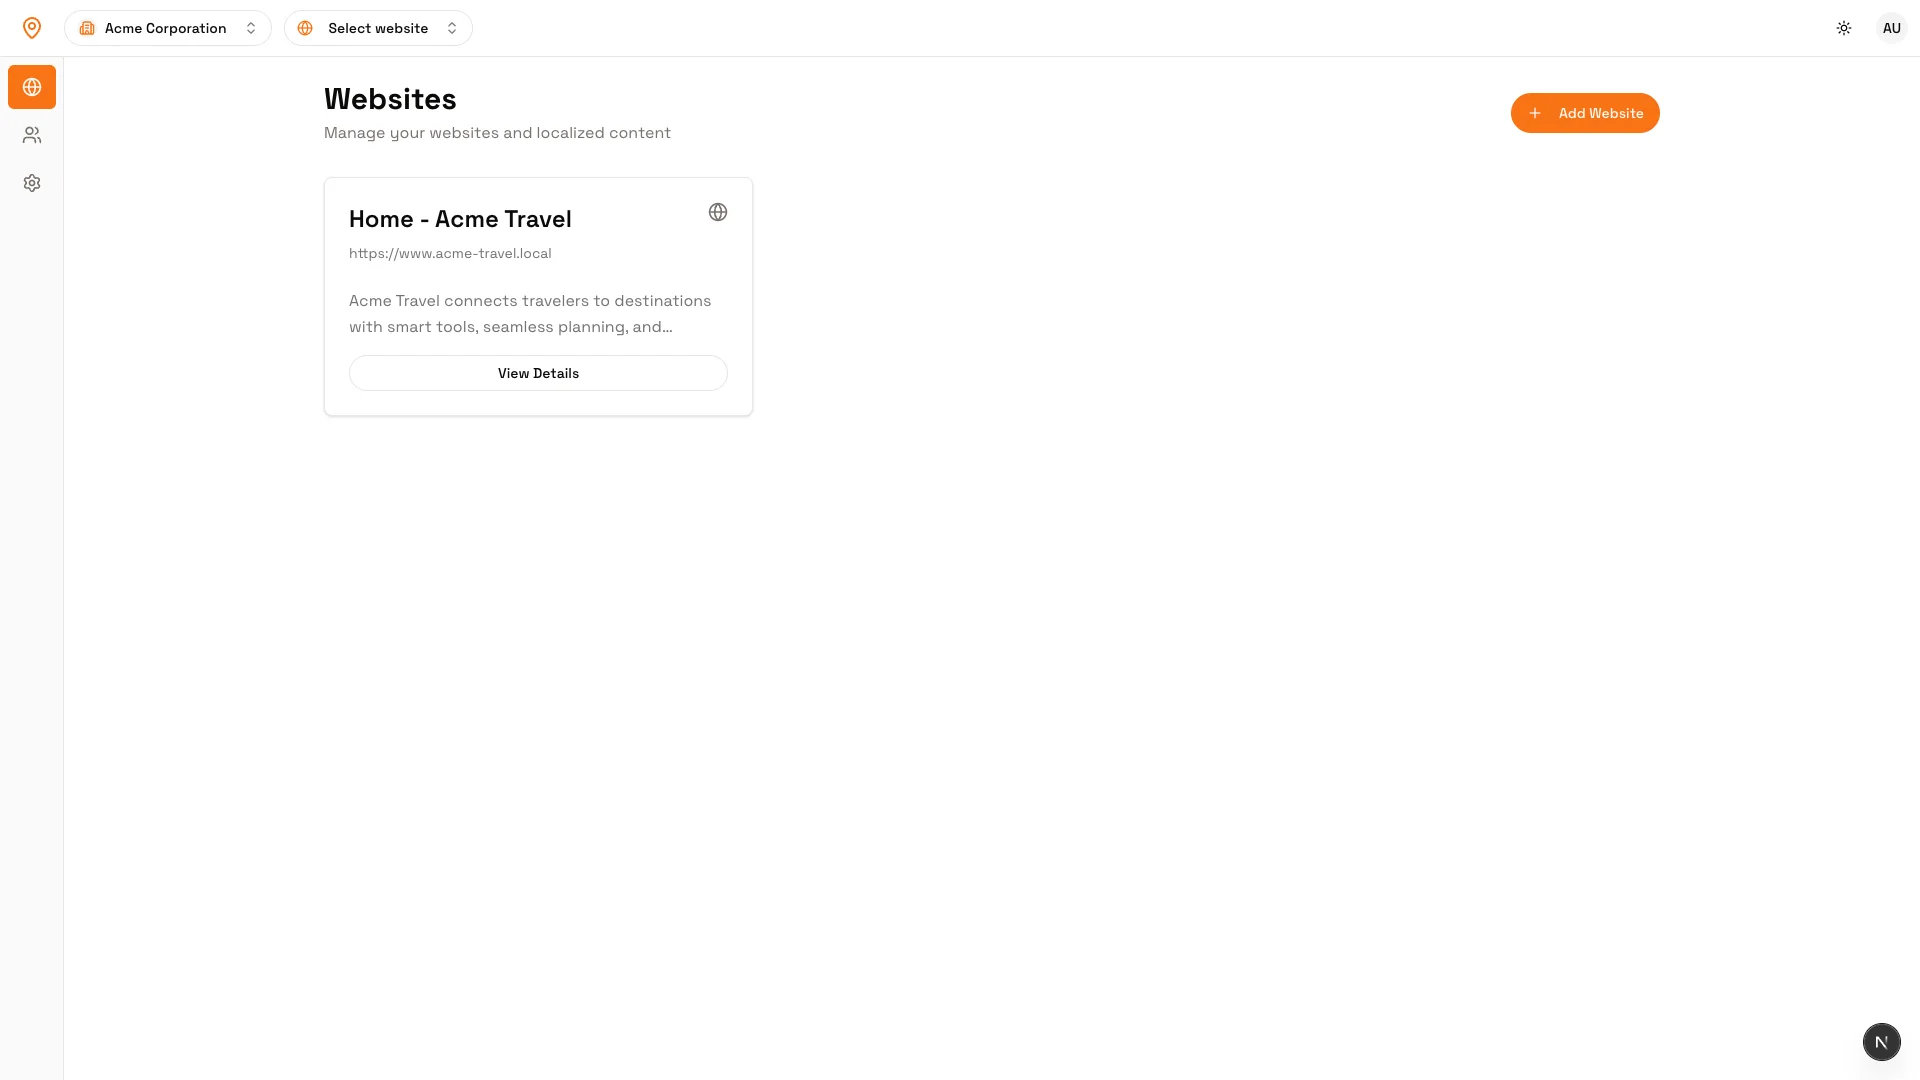
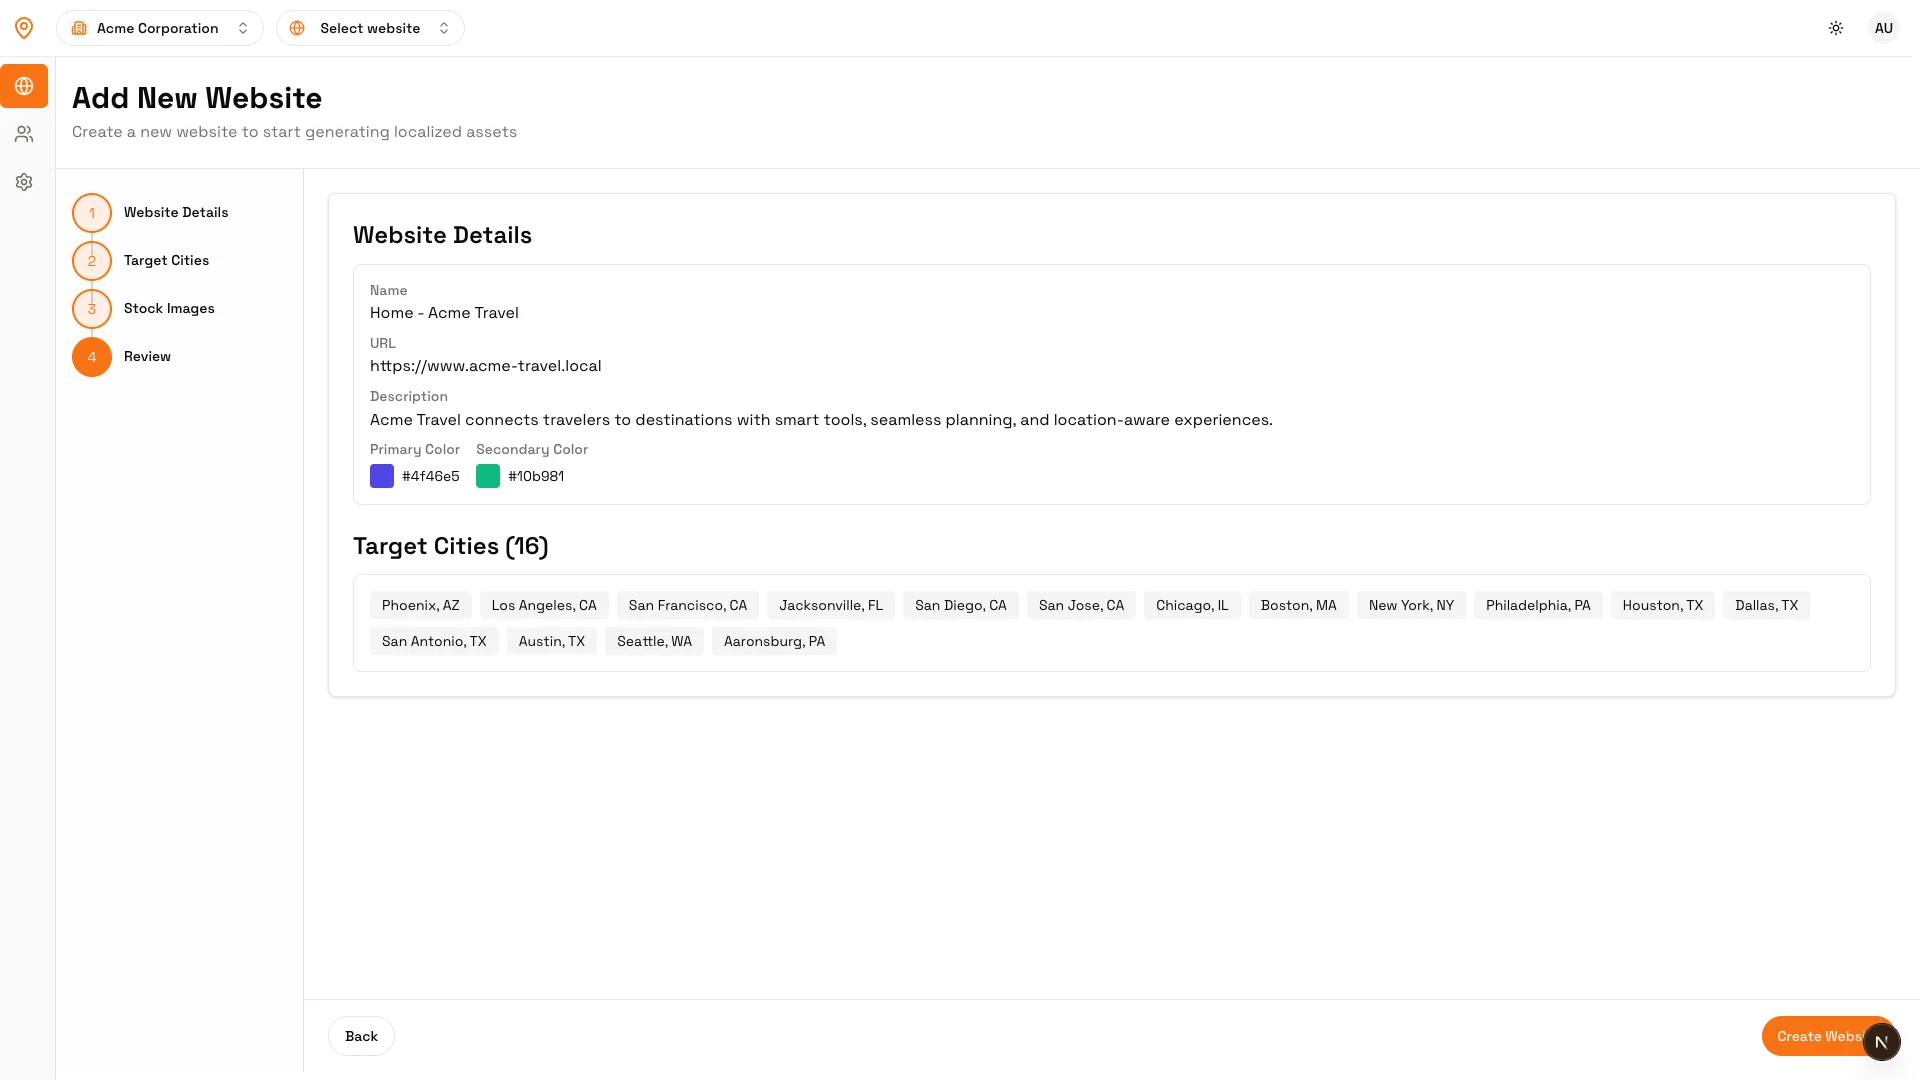
Step 1: Website Details
Fill in the basic information about your website:Website Name (required)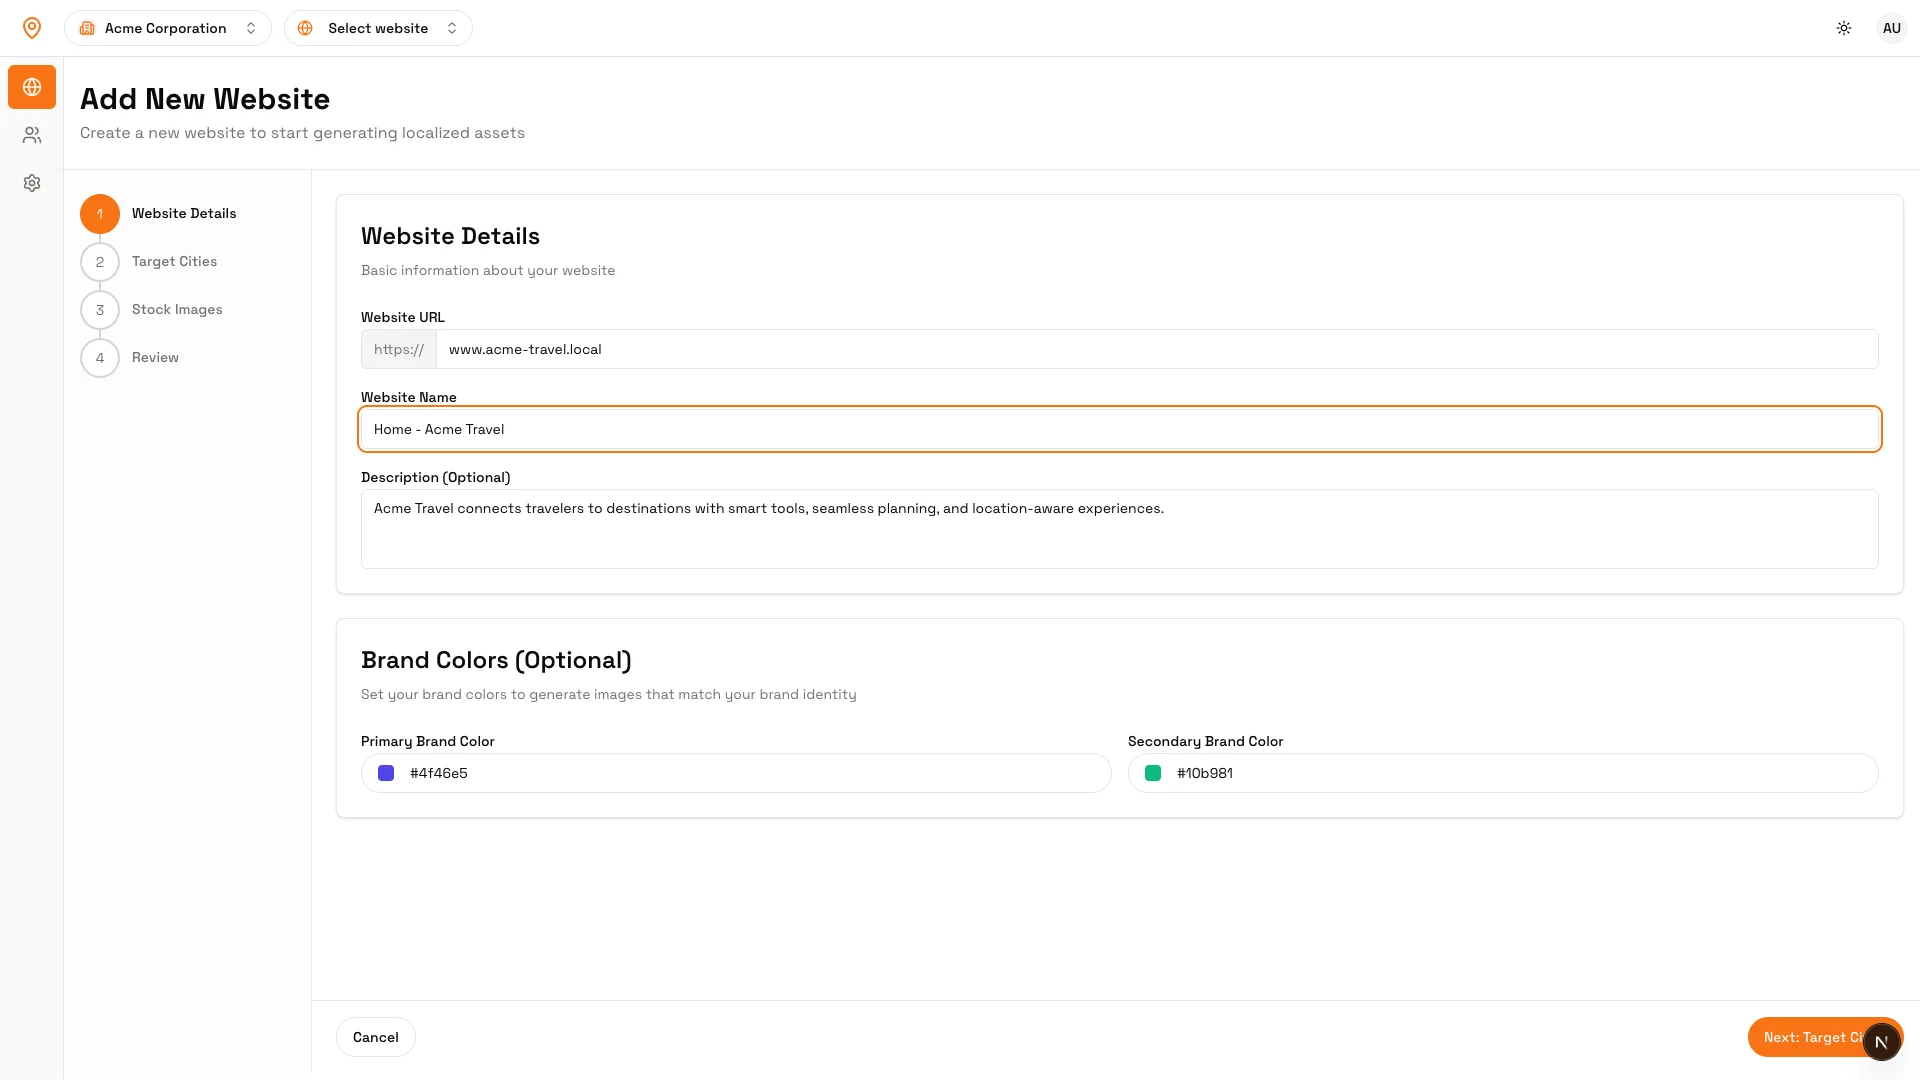 Click “Next: Target Cities” to continue
- Example: “Main Website” or “Online Store”
- Your website address
- Example: “mybusiness.com” or “shop.example.com”
- Don’t include “http://” or “www”
Click “Next: Target Cities” to continueStep 2: Target Cities
Choose which cities should receive localized images:Option A: Use AI City Finder (Recommended)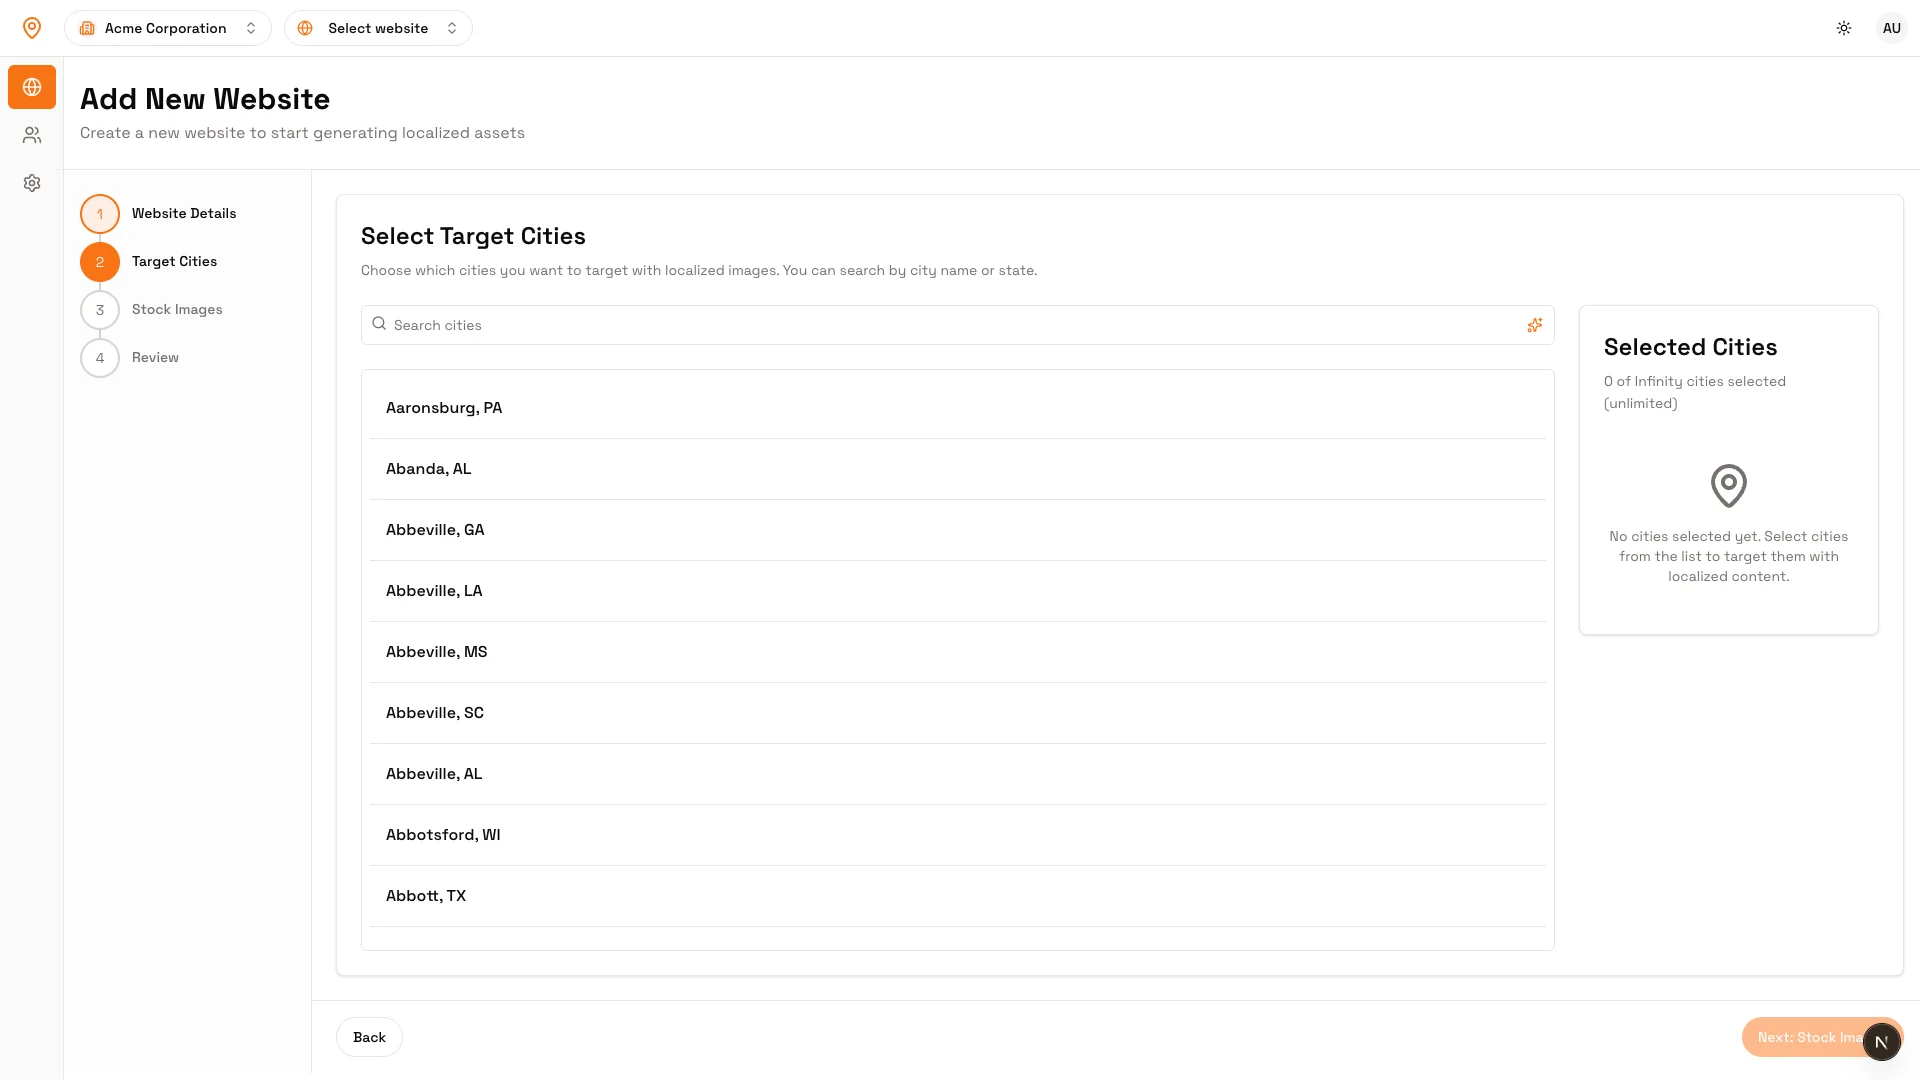 Click “Next: Stock Images” to continue
- Click the sparkle icon (✨) on the right side of the search input
- Describe your target audience (e.g., “Top cities in USA”, “Major tech hubs in California”)
- AI will suggest relevant cities
- Select the cities you want and click “Add Cities”
- Use the search box to find specific cities by name
- Click cities on the map to select them
- Selected cities turn orange
Click “Next: Stock Images” to continueStep 3: Stock Images
Optionally browse and select stock images, or click “Skip” to add your own images later.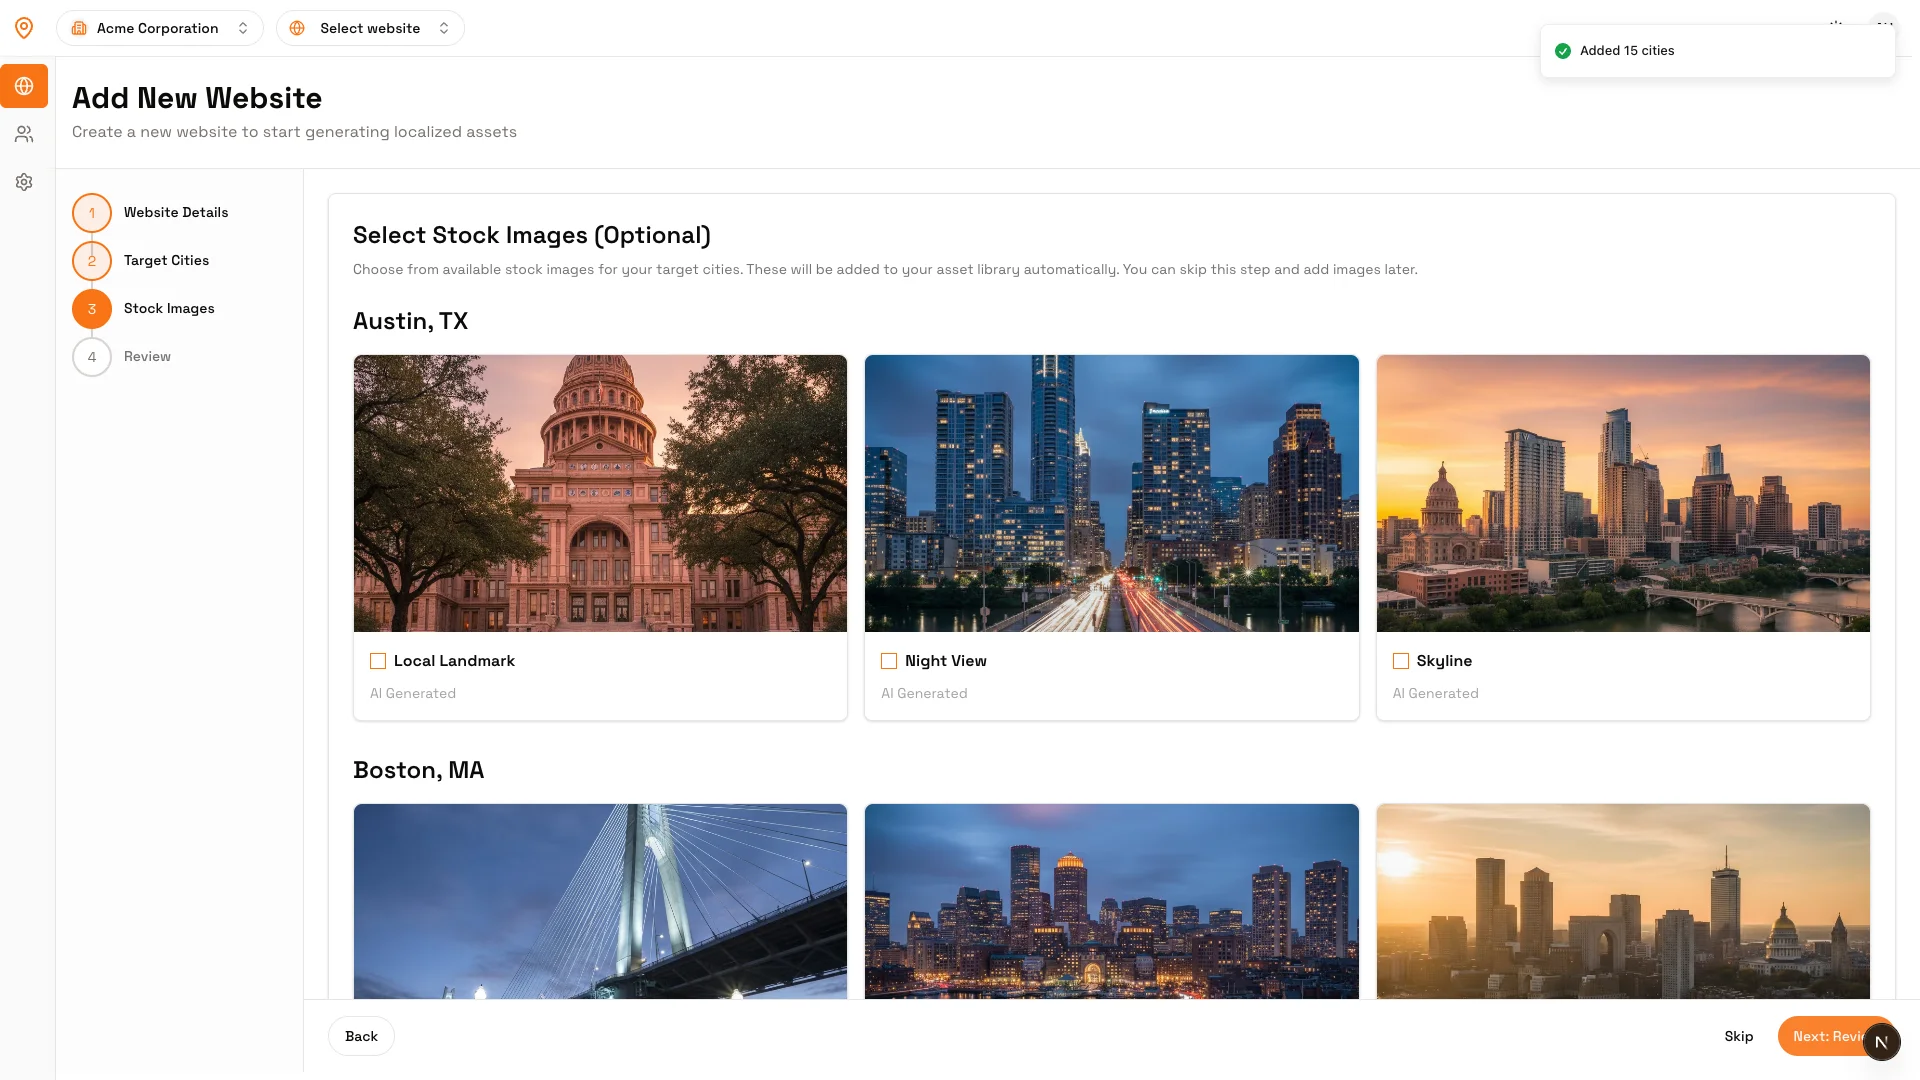
Your Website ID
After creating your website, you’ll see your Website ID displayed on the website details page. This is a unique identifier that connects your website to Localizer. Click the copy icon to copy it.
Common Questions
Can I use subdomains?
Can I use subdomains?
Yes! You can create separate websites for main domains and subdomains. Each gets its own Website ID and settings.
Can I change the domain later?
Can I change the domain later?
Yes! Go to Website Settings → General and update the domain field. Changing the domain doesn’t affect your Website ID - existing integrations keep working.
How many websites can I add?
How many websites can I add?
The number depends on your plan: Free (1), Pro (up to 5), Enterprise (unlimited). See all plan details →