Before You Start
- Plugin is installed and activated (install guide)
- You have a Localizer account (or will create one during this process)
Connect Your WordPress Site
Open Localizer Settings
In WordPress admin, go to Settings → LocalizerClick the Connect to Localizer button.
Authorize the Connection
On the Localizer authorization page: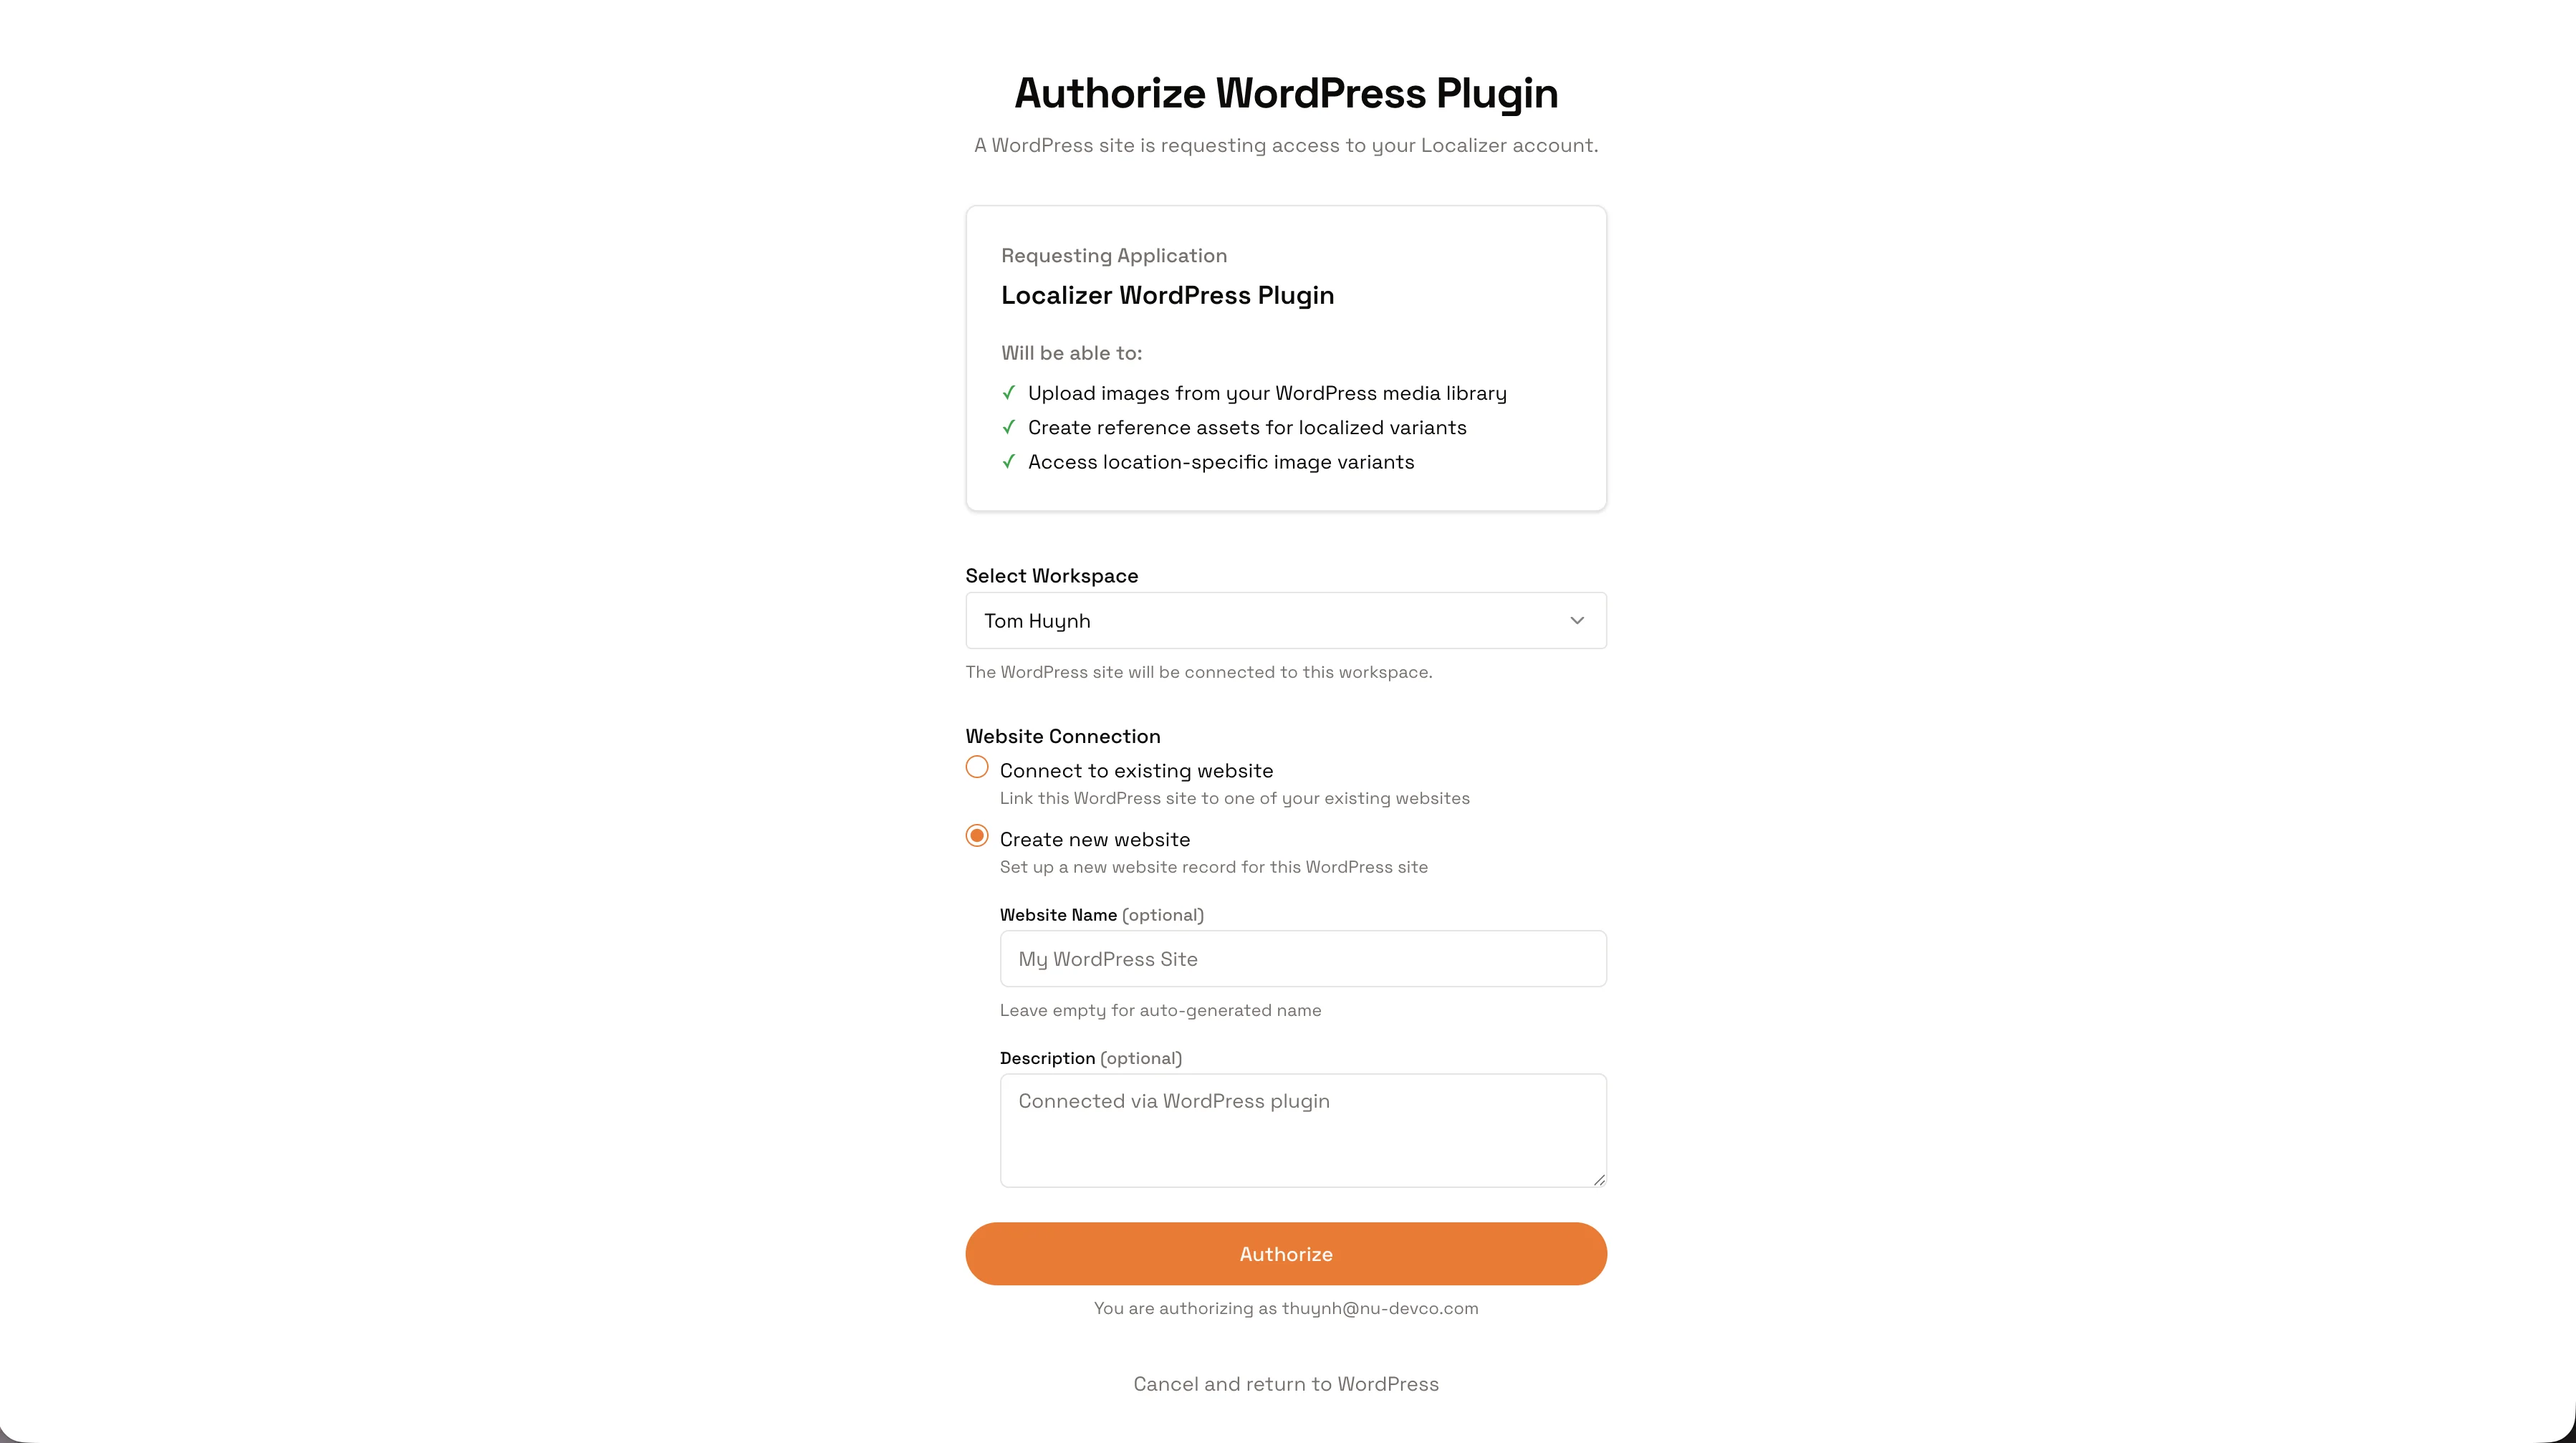 Click the orange Authorize button to complete the connection.
- Select workspace - Choose which workspace to connect this WordPress site to
- Choose website - Connect to an existing website or create a new one
- Review permissions - The plugin requests permission to sync images and display localized variants
Click the orange Authorize button to complete the connection.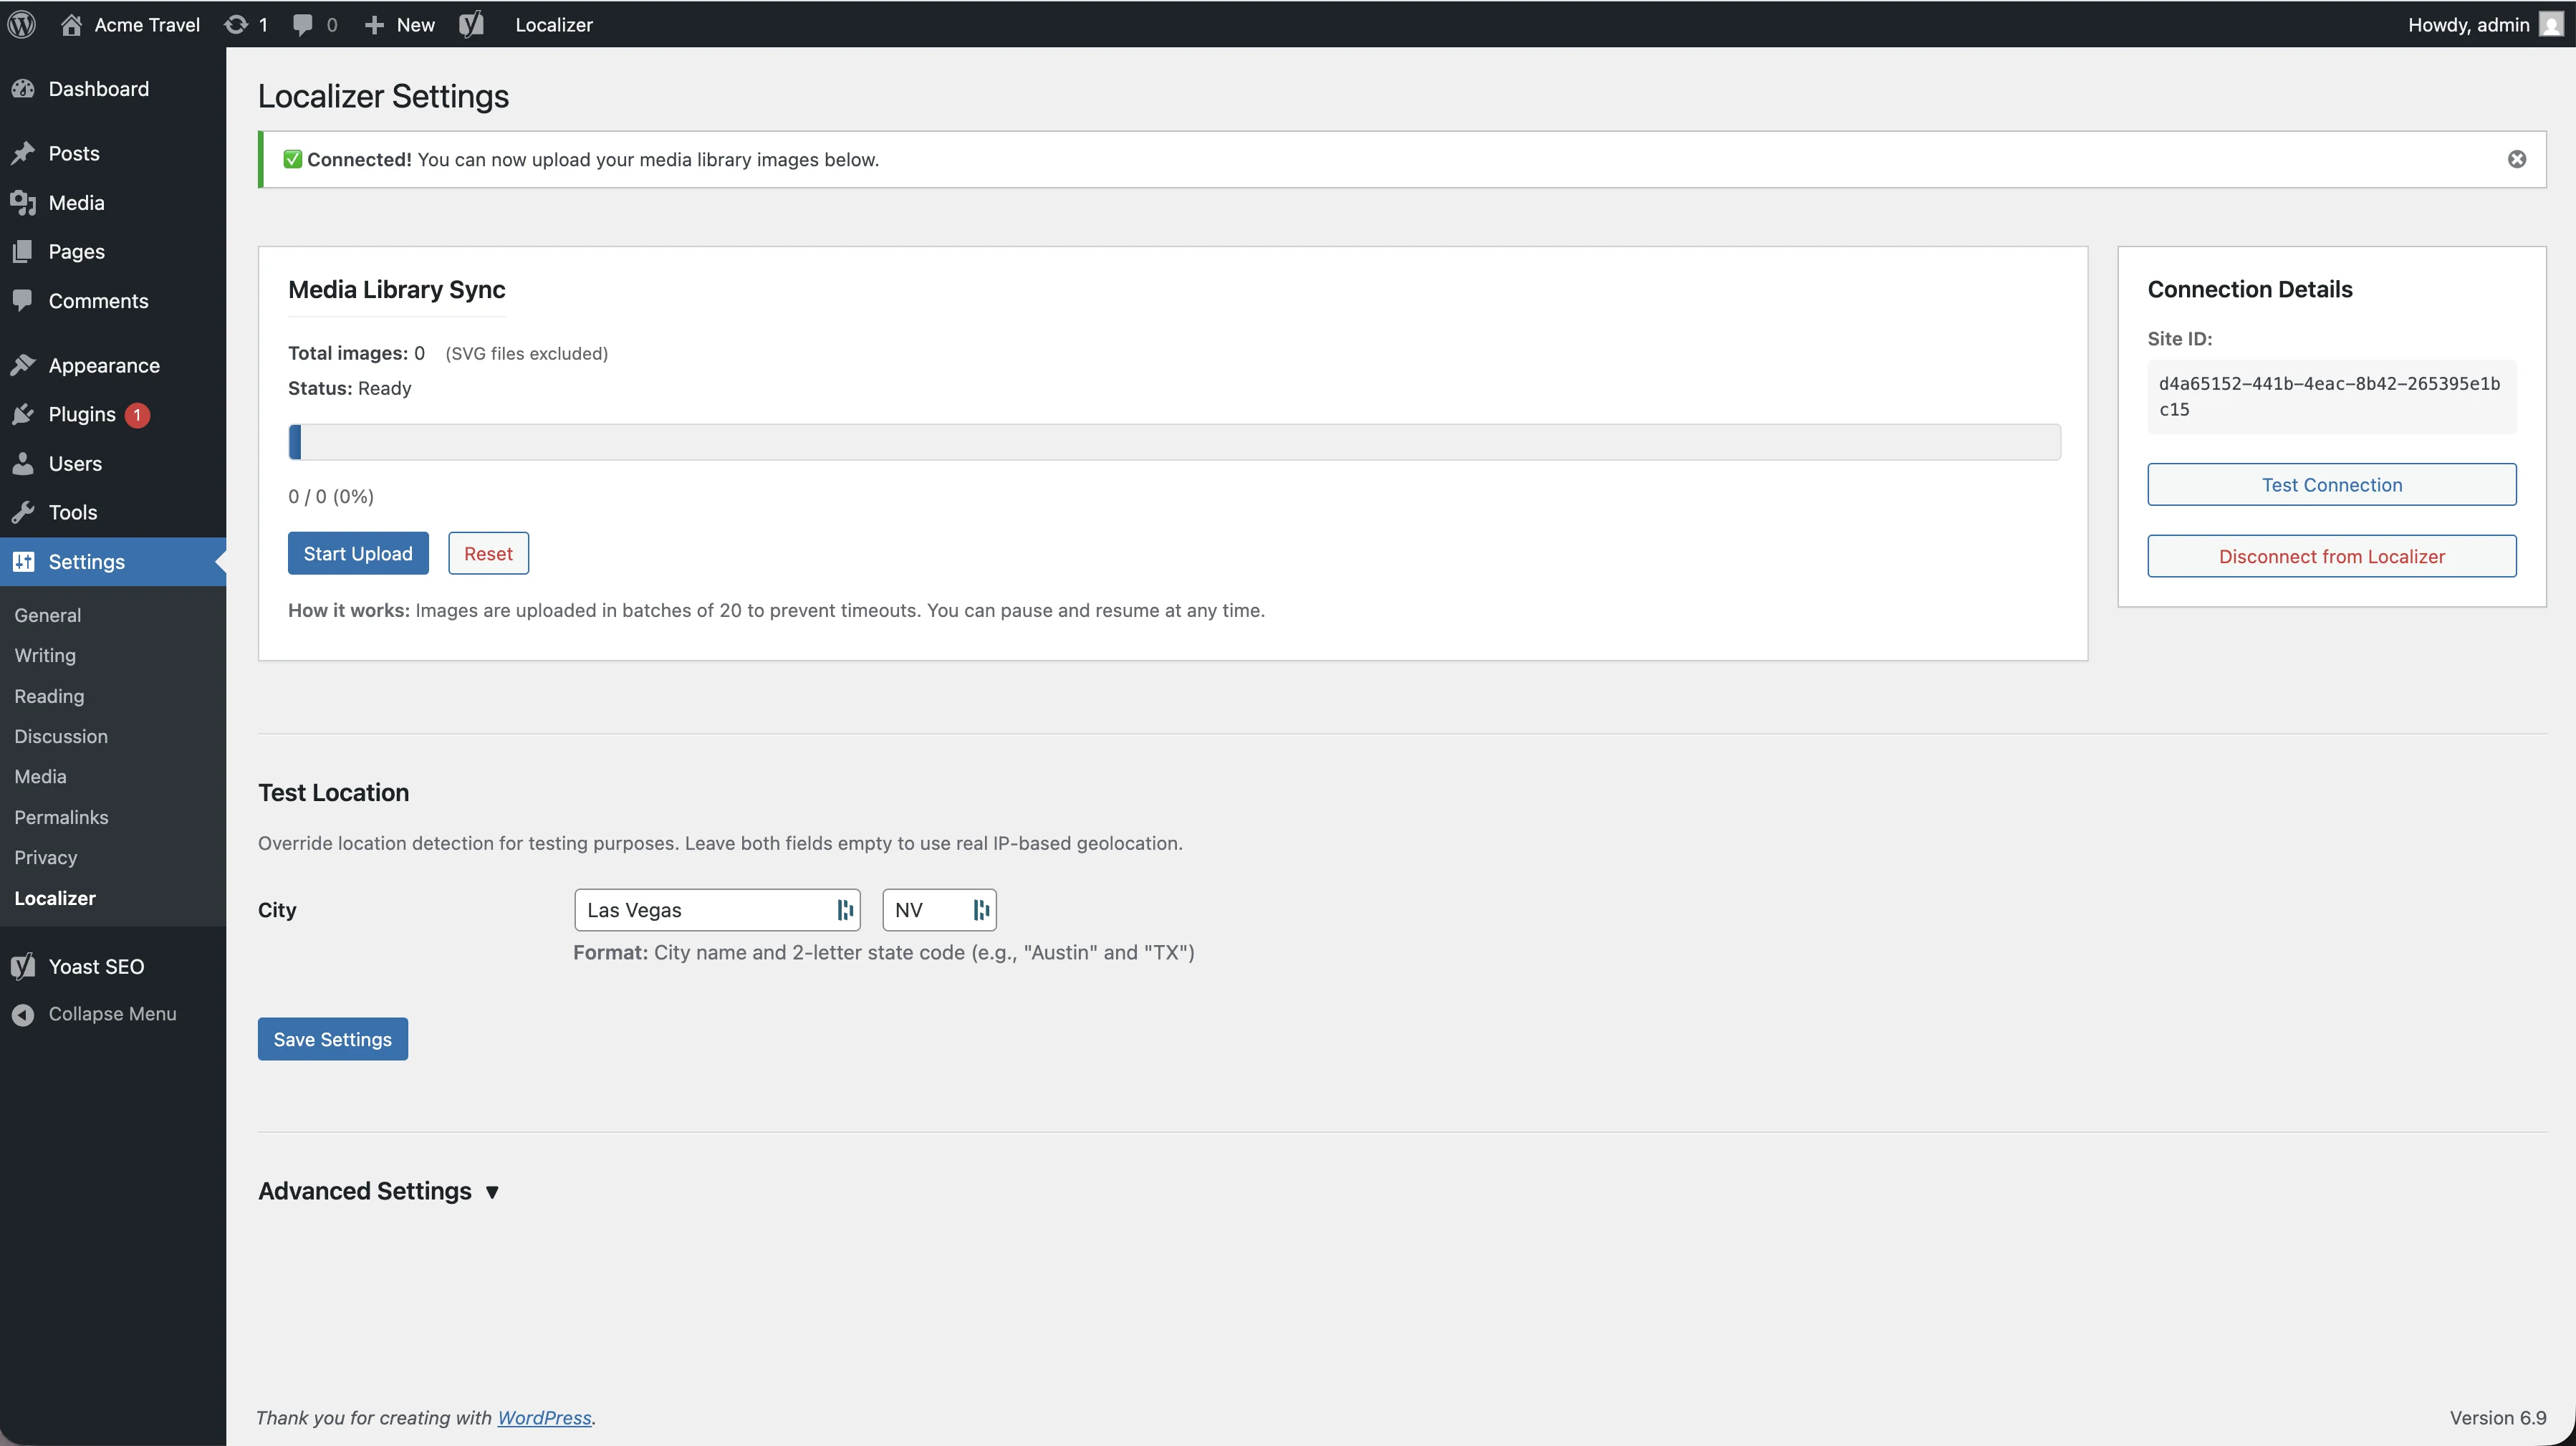
Connection Details
| Field | Description |
|---|---|
| Site ID | Unique identifier linking WordPress to Localizer |
| Last Synced | When media library was last synchronized |
| Test Connection | Verify the connection is working |
| Disconnect | Unlink this WordPress site from Localizer |
Common Questions
What if I don't have a Localizer account?
What if I don't have a Localizer account?
Click “Don’t have an account? Sign up” on the connect screen. You’ll create an account during the authorization process.
Can I connect to a different workspace later?
Can I connect to a different workspace later?
Yes! Click “Disconnect from Localizer” and reconnect, selecting a different workspace.
What permissions does the plugin have?
What permissions does the plugin have?
The plugin can only:
- Read your media library to sync images
- Display localized images on your site
- It cannot modify your WordPress content or settings