Get Started
Follow these steps to get your first location-specific image live:Create Your Account
Sign up for Localizer and verify your email. See detailed guide →
Add Your Website
Create your first website using the 4-step wizard (Website Details → Target Cities → Stock Images → Review). See detailed guide →
Choose Target Cities
Select which cities should receive localized images. The wizard guides you through this, or you can add more later. See detailed guide →
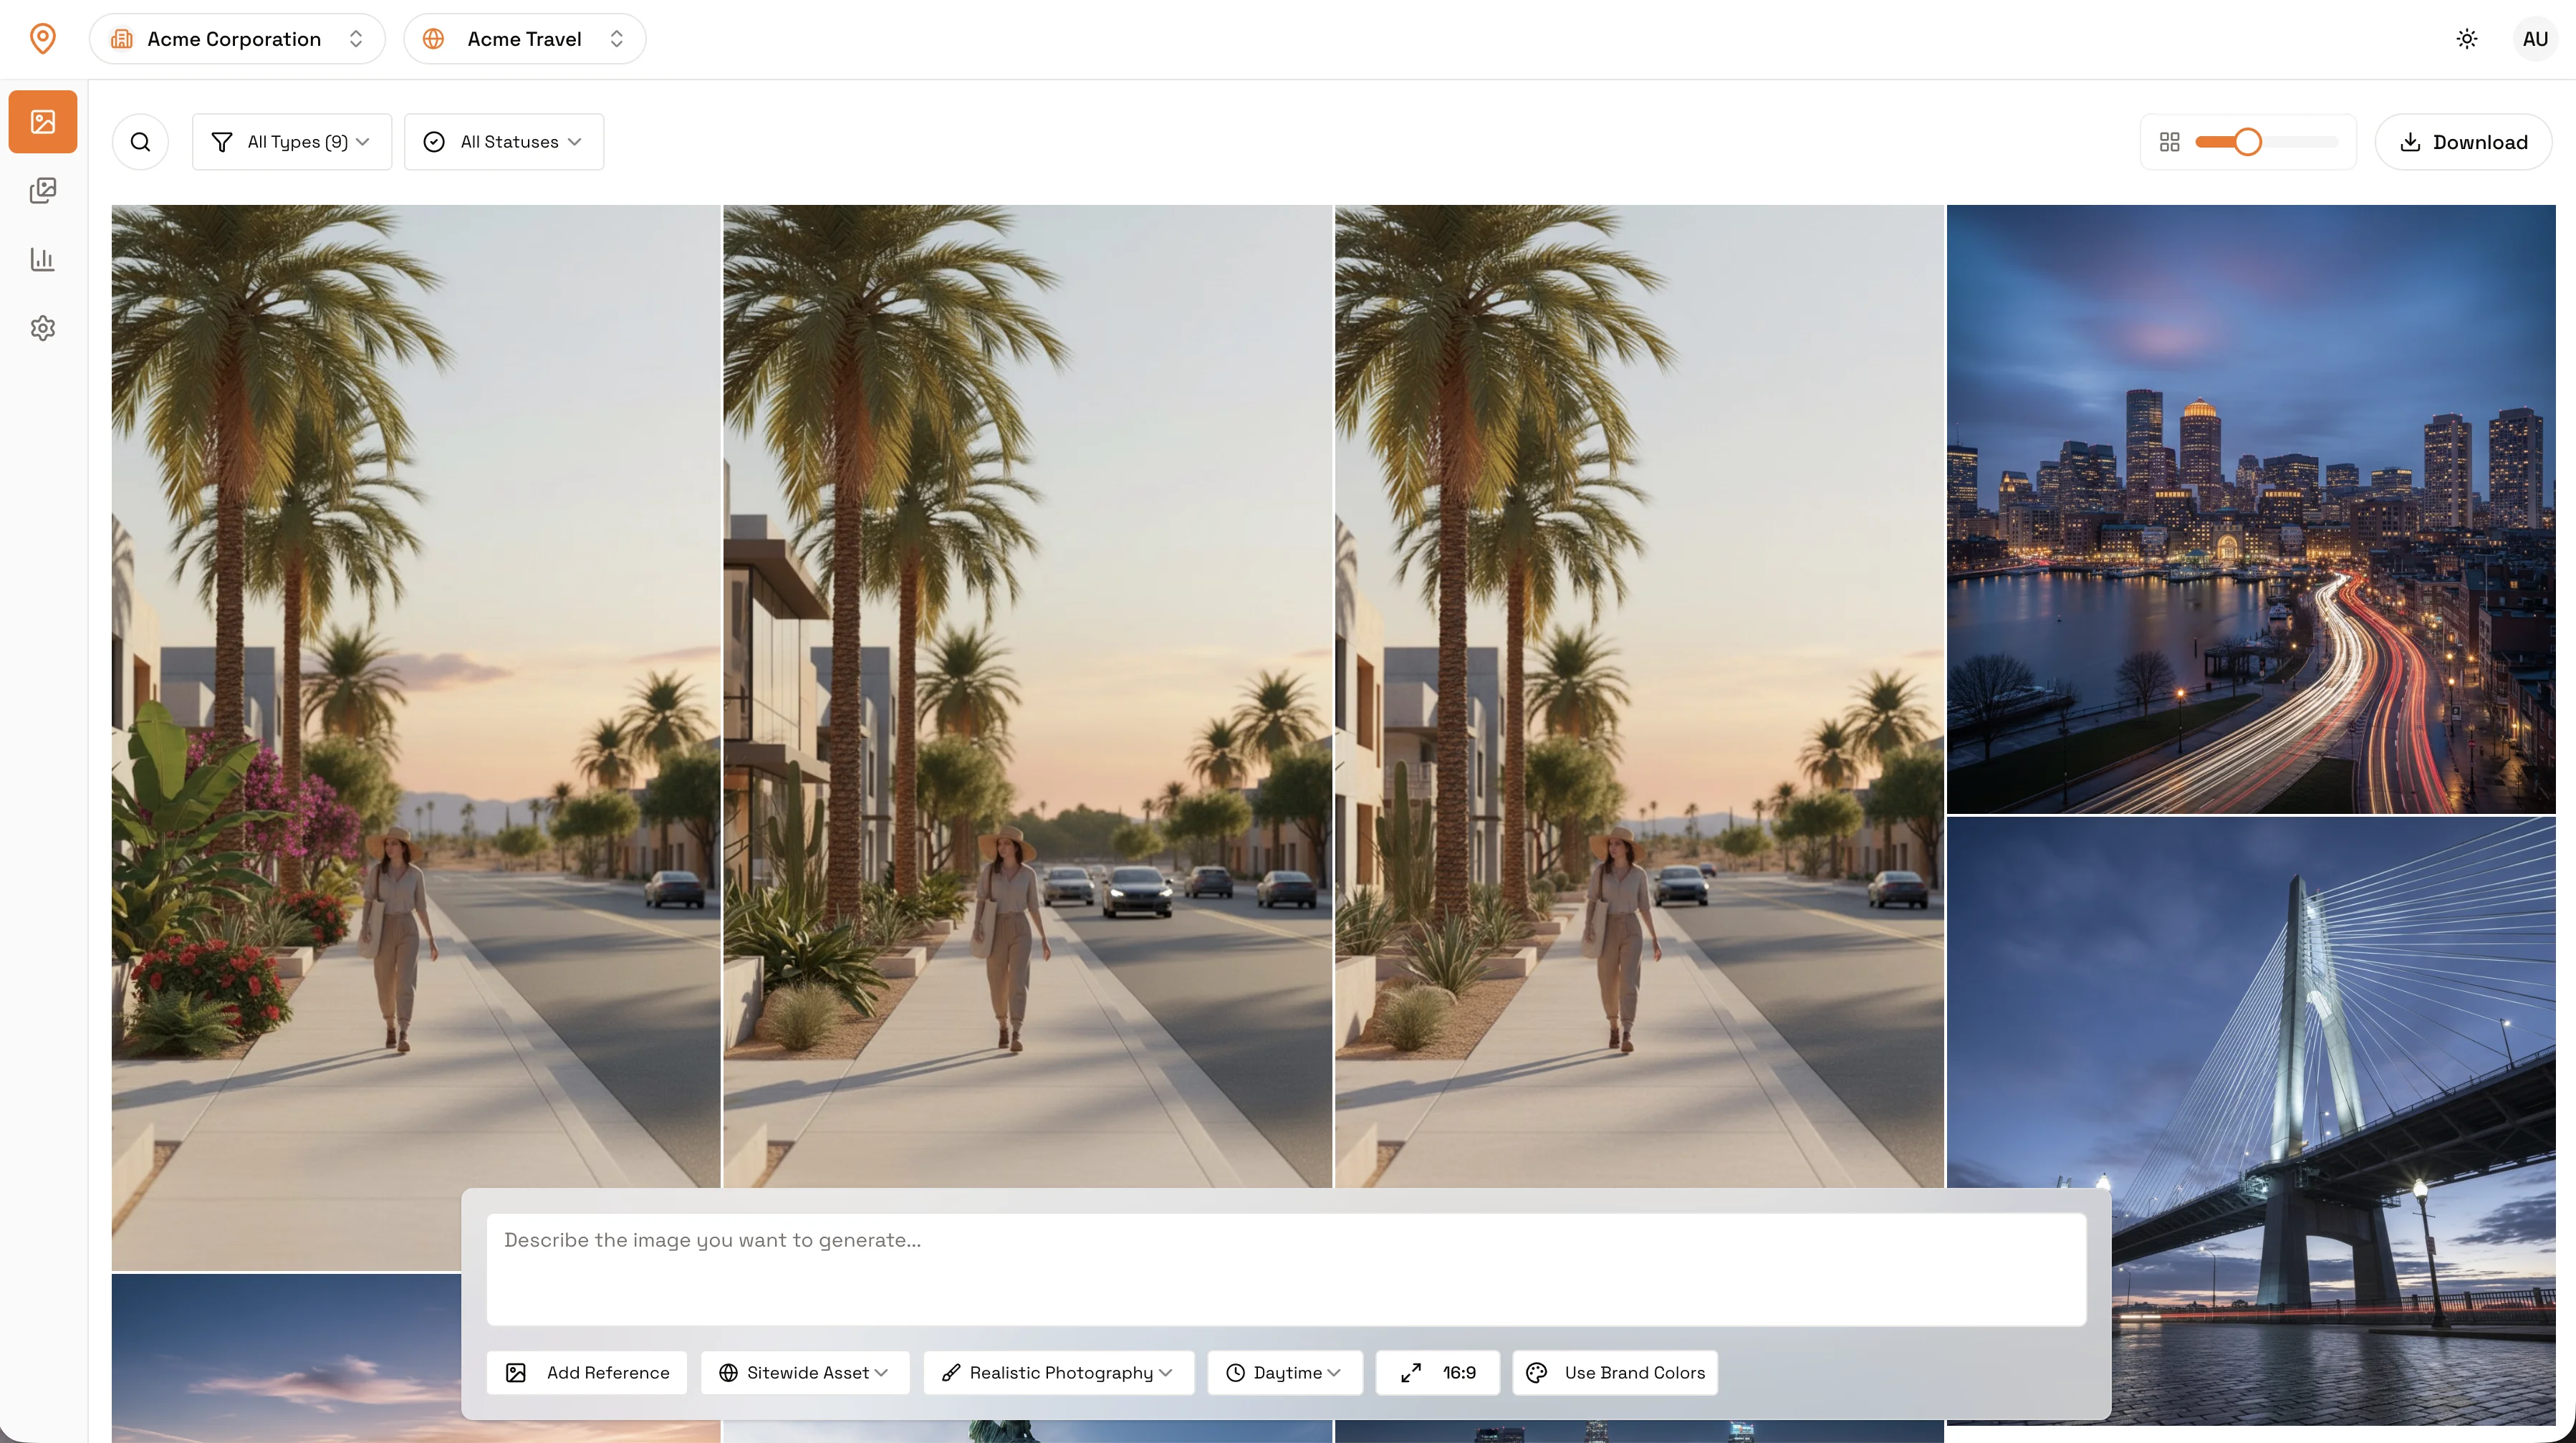
Generate Your First Image
Create a location-specific image:Option A: Generate from Reference - See detailed guide →
- Upload an image to your Mood Board (or sync from WordPress)
- Use it as a reference to generate city-specific variants
- Create a new image using text prompts
- Set the base_name to match your WordPress image filename
Connect WordPress
Install plugin → and connect → for automatic image swapping.
WordPress Integration
If you’re using WordPress, the plugin automatically swaps images based on visitor location. No manual URL management needed! How it works:- Images sync from WordPress to Localizer (or upload manually)
- Generate localized variants for your target cities
- Plugin automatically replaces images on your site
- Visitors see city-specific images automatically
Popular Guides
WordPress Setup
Install and connect the WordPress plugin
How Image Swapping Works
Understand the base_name matching system
Mood Board
Manage your reference images
Image Generation
Learn about generation options